
“1/16 South Dixie Charger”
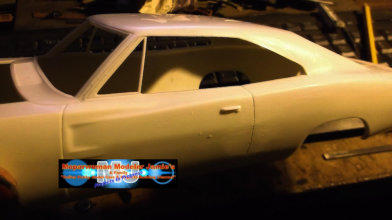
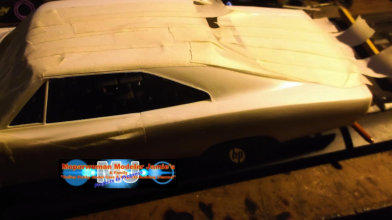
This here is what the shell looks like outside of the
plastic baggies that the shell and kit parts comes in.
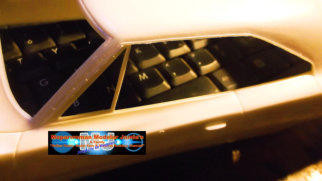
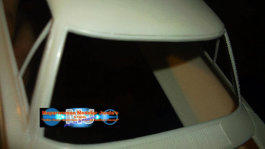
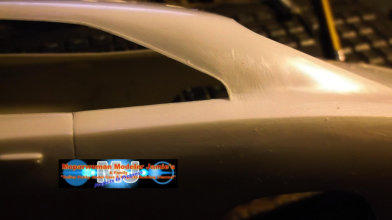
Looking at the front windshield or as the UK calls it the windscreen.
There is some detail there. Here is without the lights on.
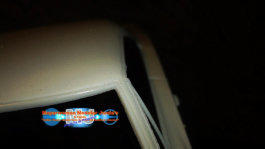

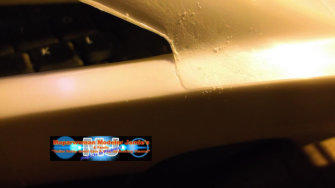
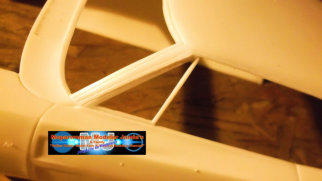
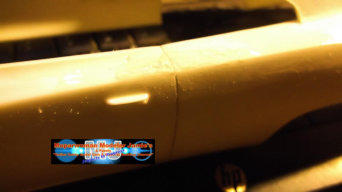
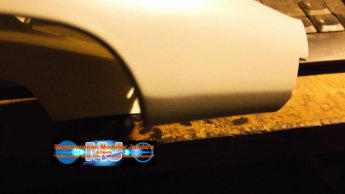
This here is what they consider a drip rail molding. Plus as you
can see a mold line as while running right off the quarter skin too.
Too some this isn’t nothing. But for us, for me it is. It will go and
a better looking one that looks more like a drip rail will be added.
Here is with lights on.
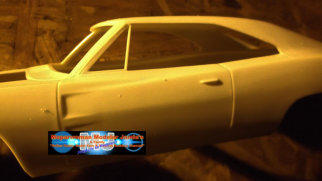
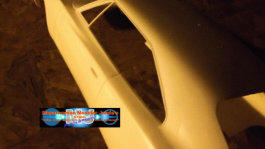
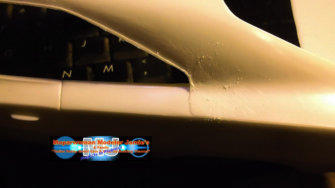
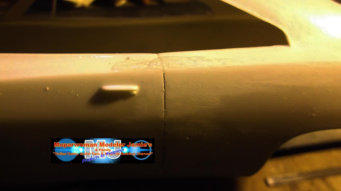
Here is the Driver side. It has some detail, but is missing detail at
the same time... and that is the fun part for me to add that
missing detail.
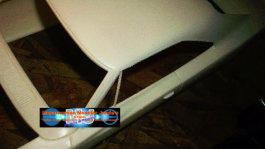
The driver side door gap had a issue with. The injection
dept and mold builder didn’t deepen the gap deep
enough on top. During the injection process you can
really see the outcome of the issue. So with a little work
here and there. We can get things iron out and back in
shape where there should be.
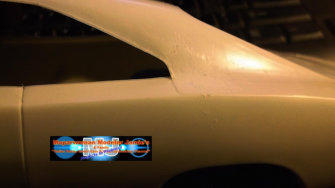
As we dive into the body work on the driver side here after tackling
the door gap. It’s also time to add the body lines that the shell “should”
have BUT it doesn’t though. So it’s time for Projects In Progress and
Mrs Lynn to step up to the plate and work the magi. Put those details
into place on the shell. Yes the door was taped off for a reason and you’ll
see why here later on.


Here you can see more body work being done on the
driver side quarter and door.


Primer was sprayed to see what all needed to be
done yet.
Time to tackle that lower body line on the rear lower
quarter section. These lines is what makes the Dodge
Charger’s what they are!